RicohDocs Manual Current version 3.0
Introduction
 RicohDocs is easy to use, powerful and cost-effective web-platform that allows organizations to centralize the management, storage, retrieval and distribution of electronic as well as paper based documents. It helps you streamline complex paper processes and create one-touch workflows. With a single button, your employees can now securely convert hard-copy pages into electronic documents and data, store them in an archive, and distribute them automatically to multiple users. It is also engaged into user's management where users manage their valuable business documents and records efficiently. Managing users, security and access permissions, user groups, work areas (domains), versioning and document control are just a few management functions of RicohDocs. End users rarely require any training and if they do, we have this complete web based training system for our customers. We strive to keep things simple.
How to Login

Steps to login into RicohDocs :
1. Enter URL i.e., http://demo.ricohdocs.com/
2. Enter your User Name.
3. Enter your Password.
4. Click on Sign In button, to login into the application.
Forgot Password
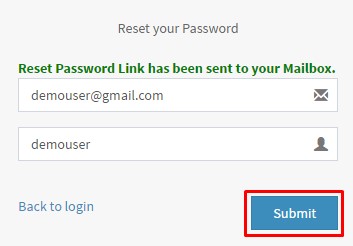 If for some reason you have forgotten your password, do not worry, simply click on the ‘Forgot password’ link on the login Screen. Once you click this link, you will be navigated to the Reset password Screen where you will have to enter your user ID along with your e-mail that was linked to RicohDocs.
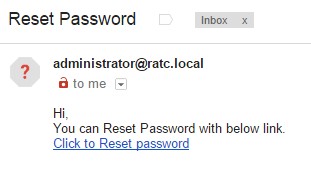 An email will be sent on your registered mail id with a password reset link. Click on the link and then enter your new password as shown below:
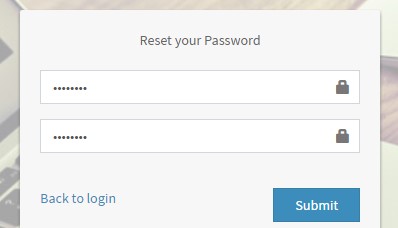
After you click on Reset Password link from your mail inbox, you will be redirected to a web-page where you can set new password to login into the application.
Password Attempts
RicohDocs has a security feature which disables your account if you enter an incorrect password for your account 5 times consecutively. If this happens, you have to contact your system administrator to reset your password.
Dashboard

After successful login, landing page will be Dashboard. In this section, we have 4 sub-sections by-default:
- New documents - count of documents uploaded under library will be shown.
- Pending tasks - count of assigned tasks will be shown.
- Events - count of upcoming events will be shown.
- Shared documents - count of shared documents will be shown.
Add a widget
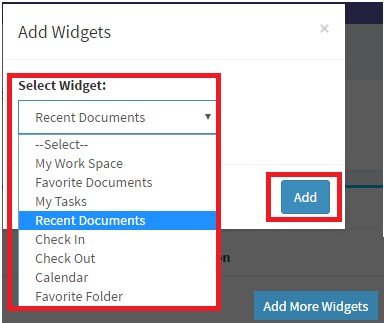
To add a widget click on Add Widget button, pop-up will get displayed on the browser. A user is allowed to select any widget from the dropdown and click on Add button.
Edit a widget
 An added widget can be renamed after clicking on edit icon.
An added widget position can be changed by dragging-n-dropping the widget anywhere.
My Documents
My Documents section is divided into three categories:

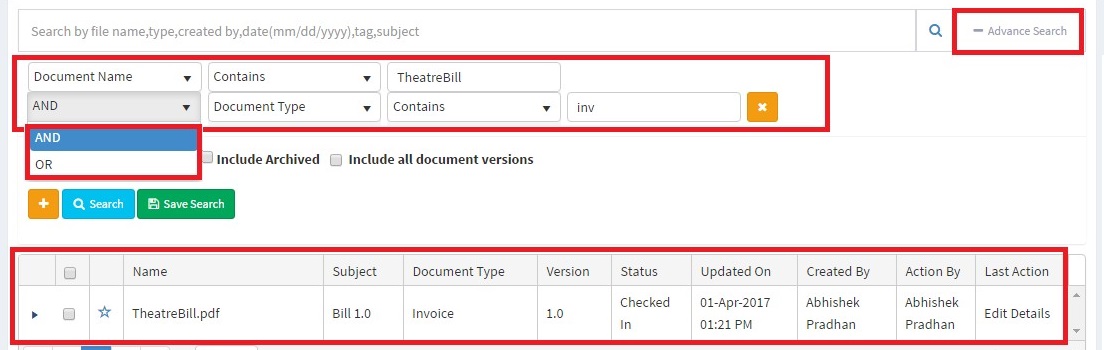
Search Documents - A document can be searched by file name,type,created by,date(mm/dd/yyyy),tag,subject.

Advance search is used to search document with multiple parameters. A user can search using Logical Operators like AND , OR using “+” sign. Both AND & OR statements behave very differently. When combining two pieces of logic, 'AND' signifies that both conditions are required for the page to show while 'OR' signifies that only one condition must be met.
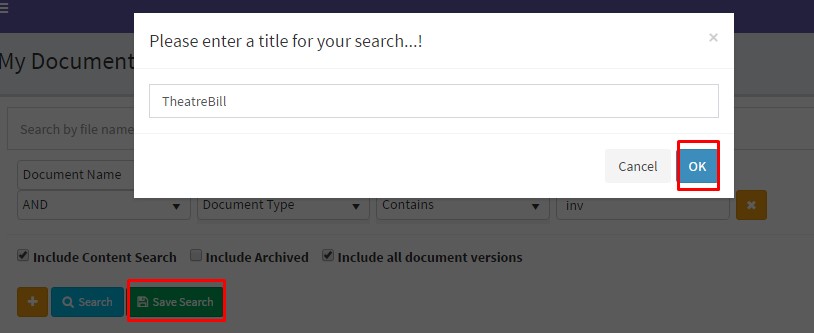
Save Search - A user can also save the advance search to quickly find the required documents.
Library's
A library is a location in a RicohDocs where a user can create, update, and manage folder/files with team members. Each library displays a list of folder/files and key information about the files, which helps members use the files to work together. After you create a library, you can customize it in several ways. For example, you can control how documents are viewed, managed, and created. Or, you can track versions, including how many and which type of versions. You can even create custom views, forms, and workflows to make your projects and business processes go much smoother.
Steps to create a Library :
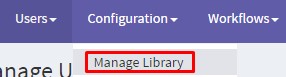
- Click on Configuration link from the Left-Menu.
- Select Manage Library from top-menu.
- Click on Add new Library button.
- Add Library Name, Description, Select User, Select Group and click on Submit button.
- A user can view his library under Library's section under Left-menu.
Steps to create a Folder in a Library :
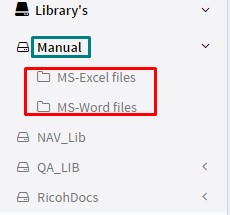
Folder Specific Features under Library Section:

Add New File
To add a new file, click on ADD NEW FILE button on the top. After click, following form will get open.
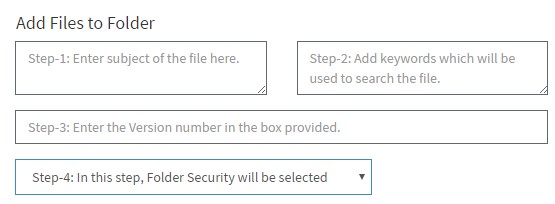
Folder Security has 4 sections in it:-
In step-6, browse / upload the document.
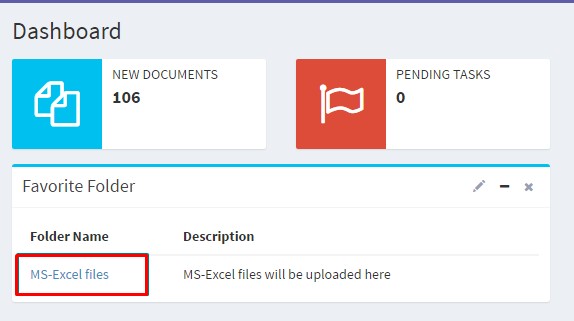
Add Favourite Folder
On click of Favourite Folder button, that particular folder will be marked as favourite. And it will get displayed on the dashboard under Favourite widget.
Manage Folder
Under Manage Folder section, folder security settings can be changed for sub folders and files.
Delete Folder
On click of Delete Folder button , a folder will get deleted form the library.

Add Folder
A folder will get added under the selected library.
Share Folder
A folder can be shared with the RicohDocs users/groups with a validity option.
File Specific Features under Folder Section:
After a selecting a file within the folder a user click on left icon , following file specific features will get displayed:

1. Preview – This feature will preview the selected file.
2. Download – This feature will download the selected file to the local system.
3. Share – This feature will download the selected file to the local system.
4. History – This feature will allow the user to share the selected file with the system users/Group or External users.
5. Details – This feature will display document details of the selected file.
6. Check Out/Check In – This feature will allow a user to check-out the documents that can be accessed by him/her. And The ‘Check-In’ access privilege lets the user check-in the documents that he/she previously checked-out with the new version number.
7. Lock/Unlock – The Lock feature will allow the user to lock the documents that can be accessed by him/her, preventing them from being modified further. And the Unlock feature will unlocks the document.
8. Move - This feature will allow the user to move the documents that can be accessed by him/her, from one location/folder to another.
9. Copy - This feature will allow the user to copy the documents that can be accessed by him/her, from one location/folder to another.
10. Delete - This feature will allow the user to delete the documents that can be accessed by him/her.
11. Archive - This feature will allow the user to archive the documents that can be accessed by him/her.
12. Rollback - This feature will allow the user to rollback the documents from current version to the previous version.
13. Workflow - This feature will allow the user to attach a document that can be accessed by him/her to a workflow, in order to initiate that workflow.
14. Mark Favourite - The ‘Mark/Unmark Favourite’ access privilege lets the user with this privilege mark or unmark a document that can be accessed by him/her as favourite.
15. Edit Details - The ‘Edit Details’ option lets you modify the File Name, Subject Line, Tags, security settings, Document Type for an existing file.
16. Supported Documents - This feature will allow the user to user to upload supporting documents for an existing document/ primary document.
17. Attach with In Progress Workflow - This feature will allow the user to user with this privilege attach a document to an ongoing workflow i.e. a workflow which is in progress.
18. Request For File
19. Document Checked
Archive's
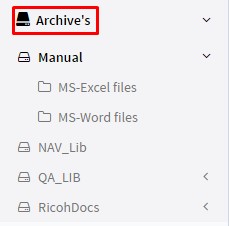
By default Archive section, creates a replica of Folder/Sub-Folder under Library section. This folder contains all the documents that have been archived. To Archive a document, navigate to the desired folder where the document is located and click on the Archive button. And the archived file will no longer be visible in the library section. Archiving facility lets users archive files for easy retrieval.
Request & Approvals
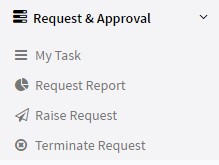
My Task
This section is used to view assigned tasks. To Approve, click on action button.

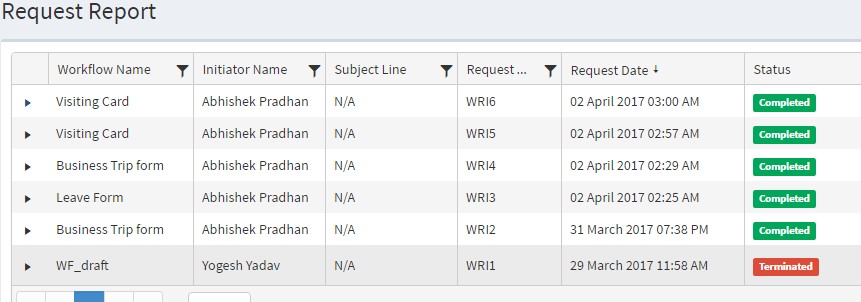
Request Report
This is used to view the status of the Workflow Reports.
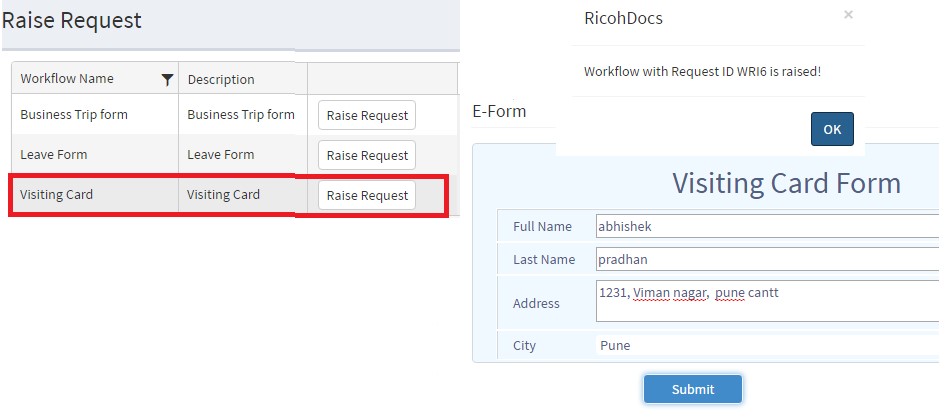
Raise Request
This section is used to raise a request from a list of E-forms that can be submitted as requests by a user.
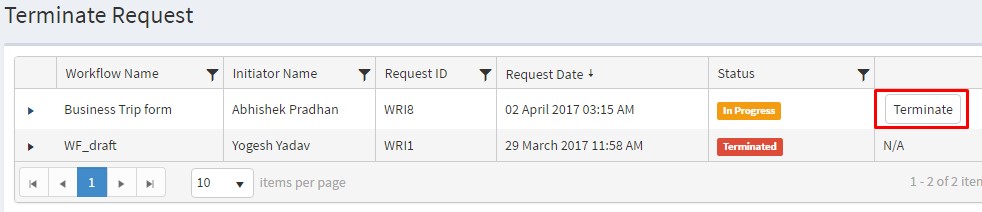
Terminate Request
This section is used to terminate the raised request. A request can be terminated until it is approved.
Saved Search
A user can also save the advance search to quickly find the required documents. After executing an advanced search, you will get an option to save your search. Once you save a particular search, it will be available to you in your document tray. In order to save a search, simply click the ‘Save Search’ button after performing an advanced search.

Calendar
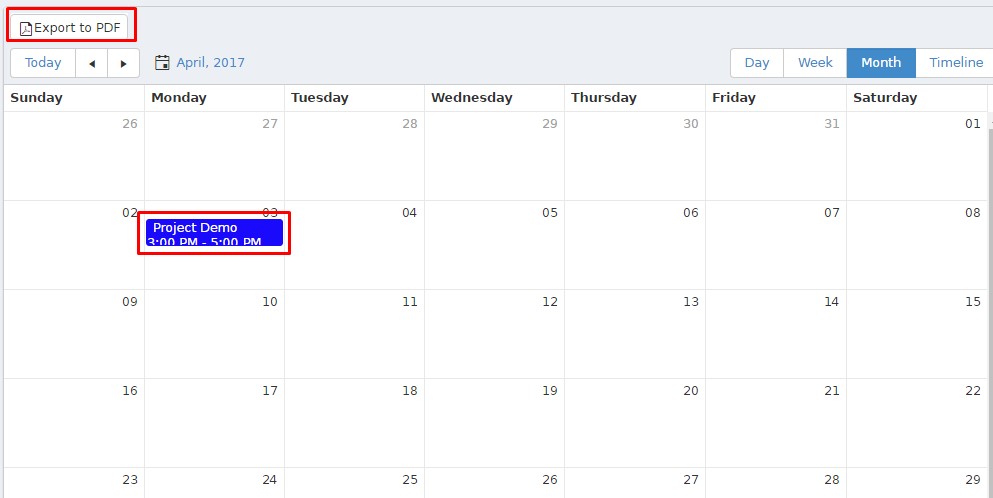
This section is used to add & manage meetings & reminders. All users of RicohDocs have access to the Calendar and can add/manage/delete reminders/meetings on a click. Calendar can be viewed on Day, Week, Month, Timeline basis.
To add a reminder, double-click on the date Meeting Schedule form will get displayed on the browser.
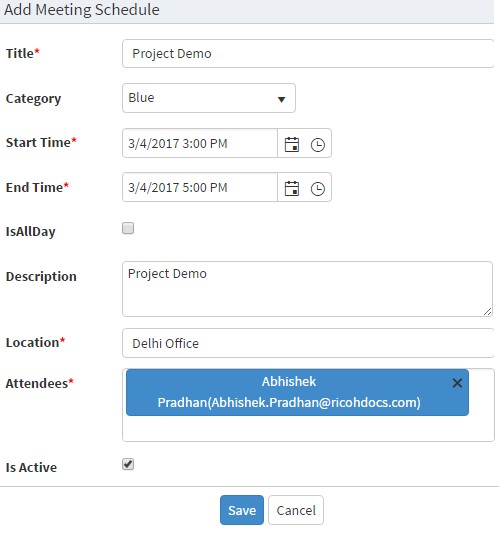
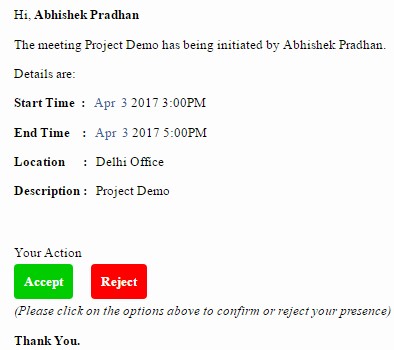
On click of submit button, an email notification will be sent on the registered mail id of the attendee.
From the calendar section, a user can view upcoming events and export the screen into .pdf format.
WorkFlow
Click on configuration link from the left-menu. On the top, workflow menu will get displayed.
This section has 3 sub-sections in it:
E-Form - RicohDocs provides the facility to create & manage E-Forms or web-forms which can be used with workflows.
Workflow - The Workflow feature enables the administrators to design and define even complex workflows with utmost ease and simplicity.
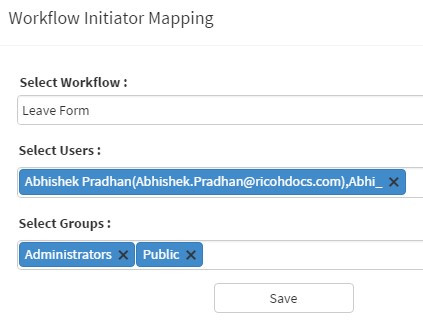
Workflow Initiators - The ‘Workflow Initiator Mapping’ access privilege lets the user select the users who can initiate selected workflows.
E-Form :
Steps to create E-Forms :
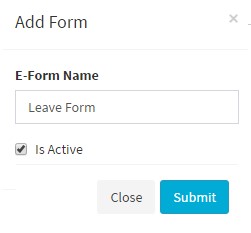
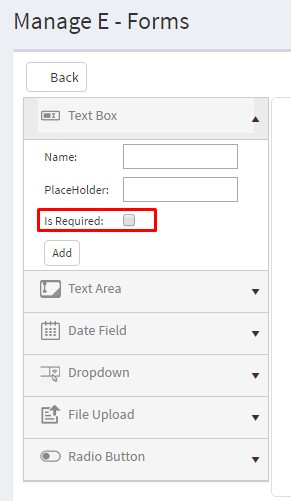
Manage E-Forms :

A user can select any of the control from the following and check the ‘Is Required’ checkbox if a user want this question to be a mandatory field:
For example:-
We have created an E-Form(shown below):
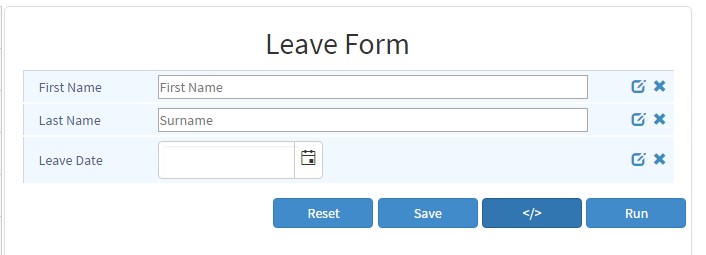
Reset –This option will Reset the form.
Save – This option will Save the form.
< / > - This option will display the source code of the form.
Run – This option will execute the script of the control added to the form.
Workflow :
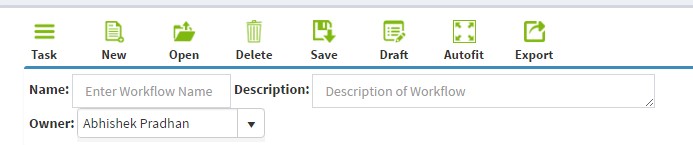
Tasks can be added by clicking ‘Add Task’ and then selecting a particular task.

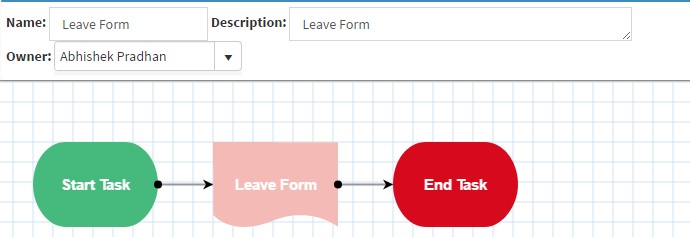
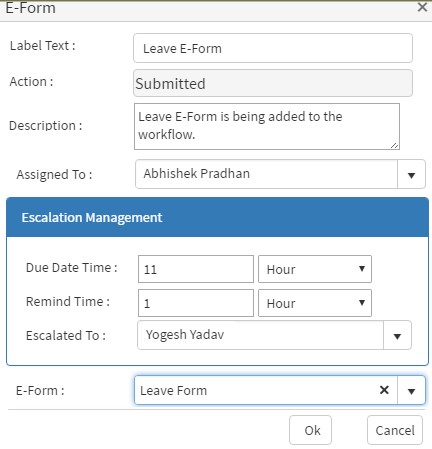
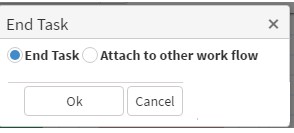
Steps to add an E-Form into the Workflow.
Workflow Initiator :
Reports
Click on Reports from the left-menu. Report section will get displayed. It has following types of report in it:
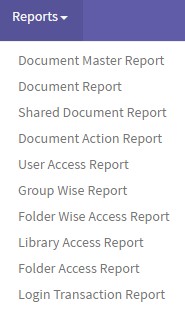
Document Master Report

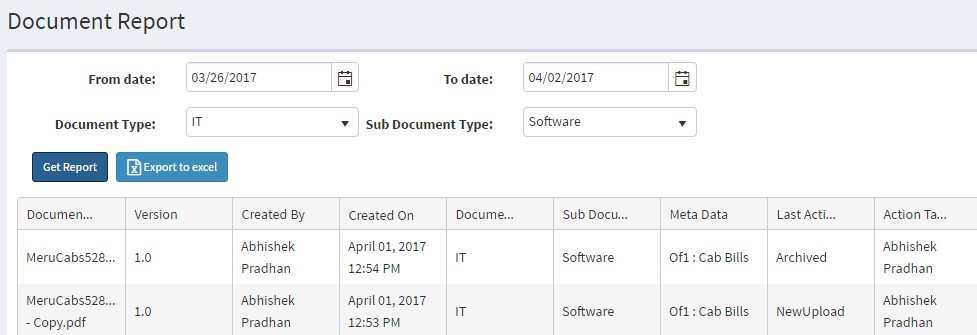
Document Report
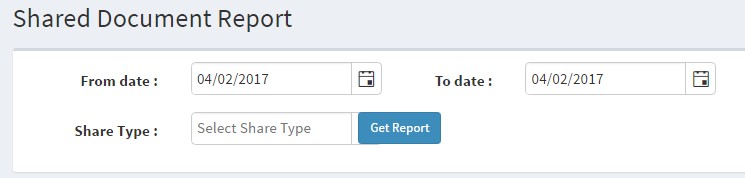
Shared Document Report
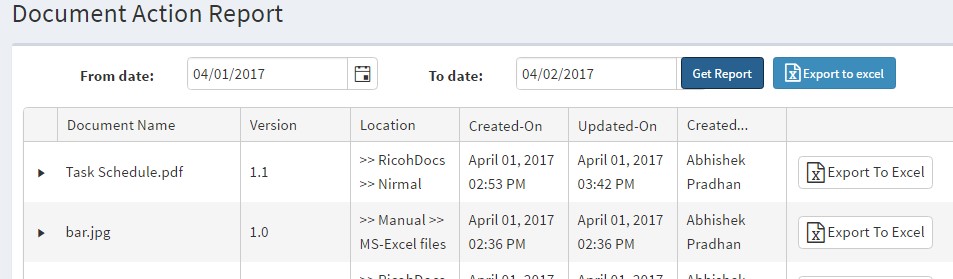
Document Action Report
User Access Report
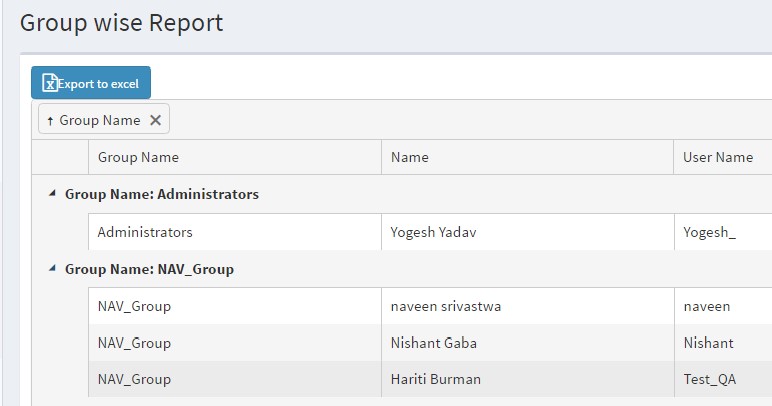
Group Wise Report
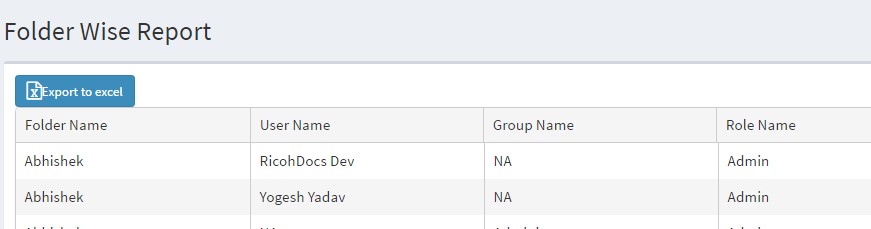
Folder Wise Report